Short answer
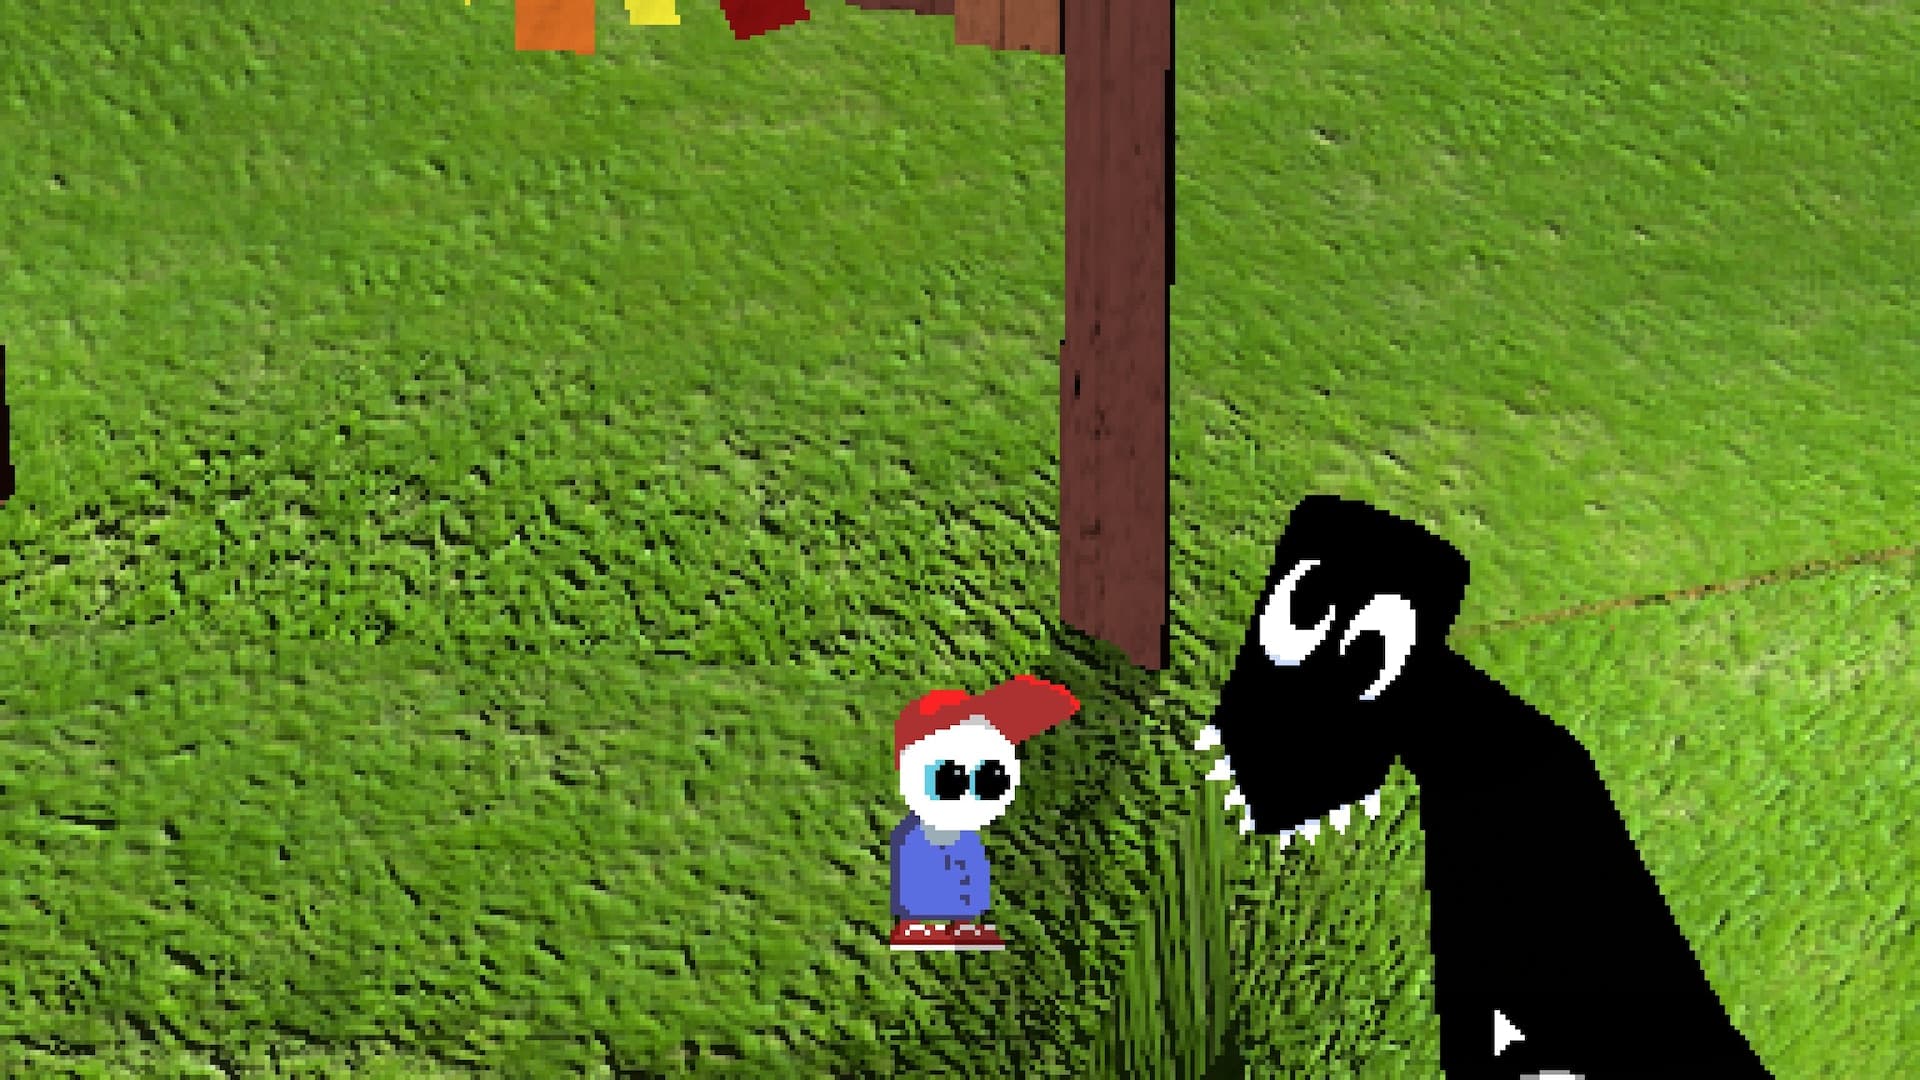
Block from the middle so the same defensive position can cover Henry's bite and mallet, but do not hold it constantly. Defend the bite, defend the follow-up, then release long enough for stamina to recover. Stall safely until the uvula appears, and use that exposure as the attack window.
When to do it: Henry's full fight appears on the Escape/Ending A route. Practice the stamina loop on Clocky and preserve a save before committing to the ending branch.
What you need: Stable right-click block, left-click attack, center positioning, and enough health/stamina to observe one full bite–mallet–uvula cycle.
Missable or risky: The fight belongs to a specific ending route. Restore the late branch backup if another ending bypassed it or if the fight state becomes unusable.
Confirmed details
A launch Steam solution identifies continuous blocking as the main failure: defend the bite and other attack, then stop blocking so stamina can recharge.
Center blocking can cover both the bite and mallet at once, which reduces frantic pointer movement and gives a stable way to wait for the real opening.
The uvula is the meaningful vulnerability window. Attacking earlier spends stamina without progressing the safest damage cycle.
This page separates documented requirements from route advice. Names, achievement conditions, platform details, and item counts are checked against the linked Steam records; navigation is cross-checked against recorded gameplay. If an update changes a room, prompt, or trigger, use the verification note below before assuming the save is broken.
Step-by-step solution
Step 1 — Enter the fight with the pointer centered and observe the first attack rather than immediately spending stamina on punches.
Step 2 — Hold the block for the bite. Keep the defense centered so the mallet follow-up can be covered without a large movement.
Step 3 — As soon as the dangerous sequence ends, release right-click completely. Let the stamina bar rise instead of keeping a safety block active.
Step 4 — Repeat the centered defense and recovery pattern until the uvula becomes exposed, then use a controlled attack burst on that target.
Step 5 — Return to defense before the next bite/mallet cycle, preserve a small stamina reserve, and repeat until Henry is defeated.
Common failures and softlock risks
Constant block feels safer but prevents useful stamina recovery and causes the guard to fail during the next real hit.
Do not mash attacks at Henry's closed state. Save offense for the uvula exposure.
If right-click visibly releases while held even with a full bar, test the input outside the battle and use the fight-input recovery checklist.
Recovery rule: stop before crossing another chapter boundary. Confirm the current objective, cycle every usable inventory item, and retry the interaction from a clean room entry. If the trigger still fails, close the game before restoring a known-good save; copying or replacing live save files while the game is open can overwrite the recovery state.
Version and verification
The center-block, bite/mallet coverage, release-to-regenerate, and uvula window were checked against a current Steam discussion answer and the Henry segment of launch boss footage.
Last verified: July 31, 2026, against the launch PC build, Steam achievement records, linked Steam Community guides, and recorded full-game footage. Endacopia can vary some puzzle clues between runs, so follow the clue in your own save when this page explains a method instead of a fixed answer.
Frequently asked questions
Why does my stamina run out against Henry?
You are probably holding block between attacks. Release after the bite/mallet sequence so stamina can refill.
When can I damage Henry?
Wait until the uvula is exposed, attack it with a short burst, then return to the centered defense loop.